Open Field Box Assembly
Thank you for your Open Field purchase. For any questions, please email [email protected].
Before You Start
Please make sure your package includes the following components:
- 4 wall pieces
- 1 base
- Screws
Note: the interior sides are non-reflective.
Assembly Instructions
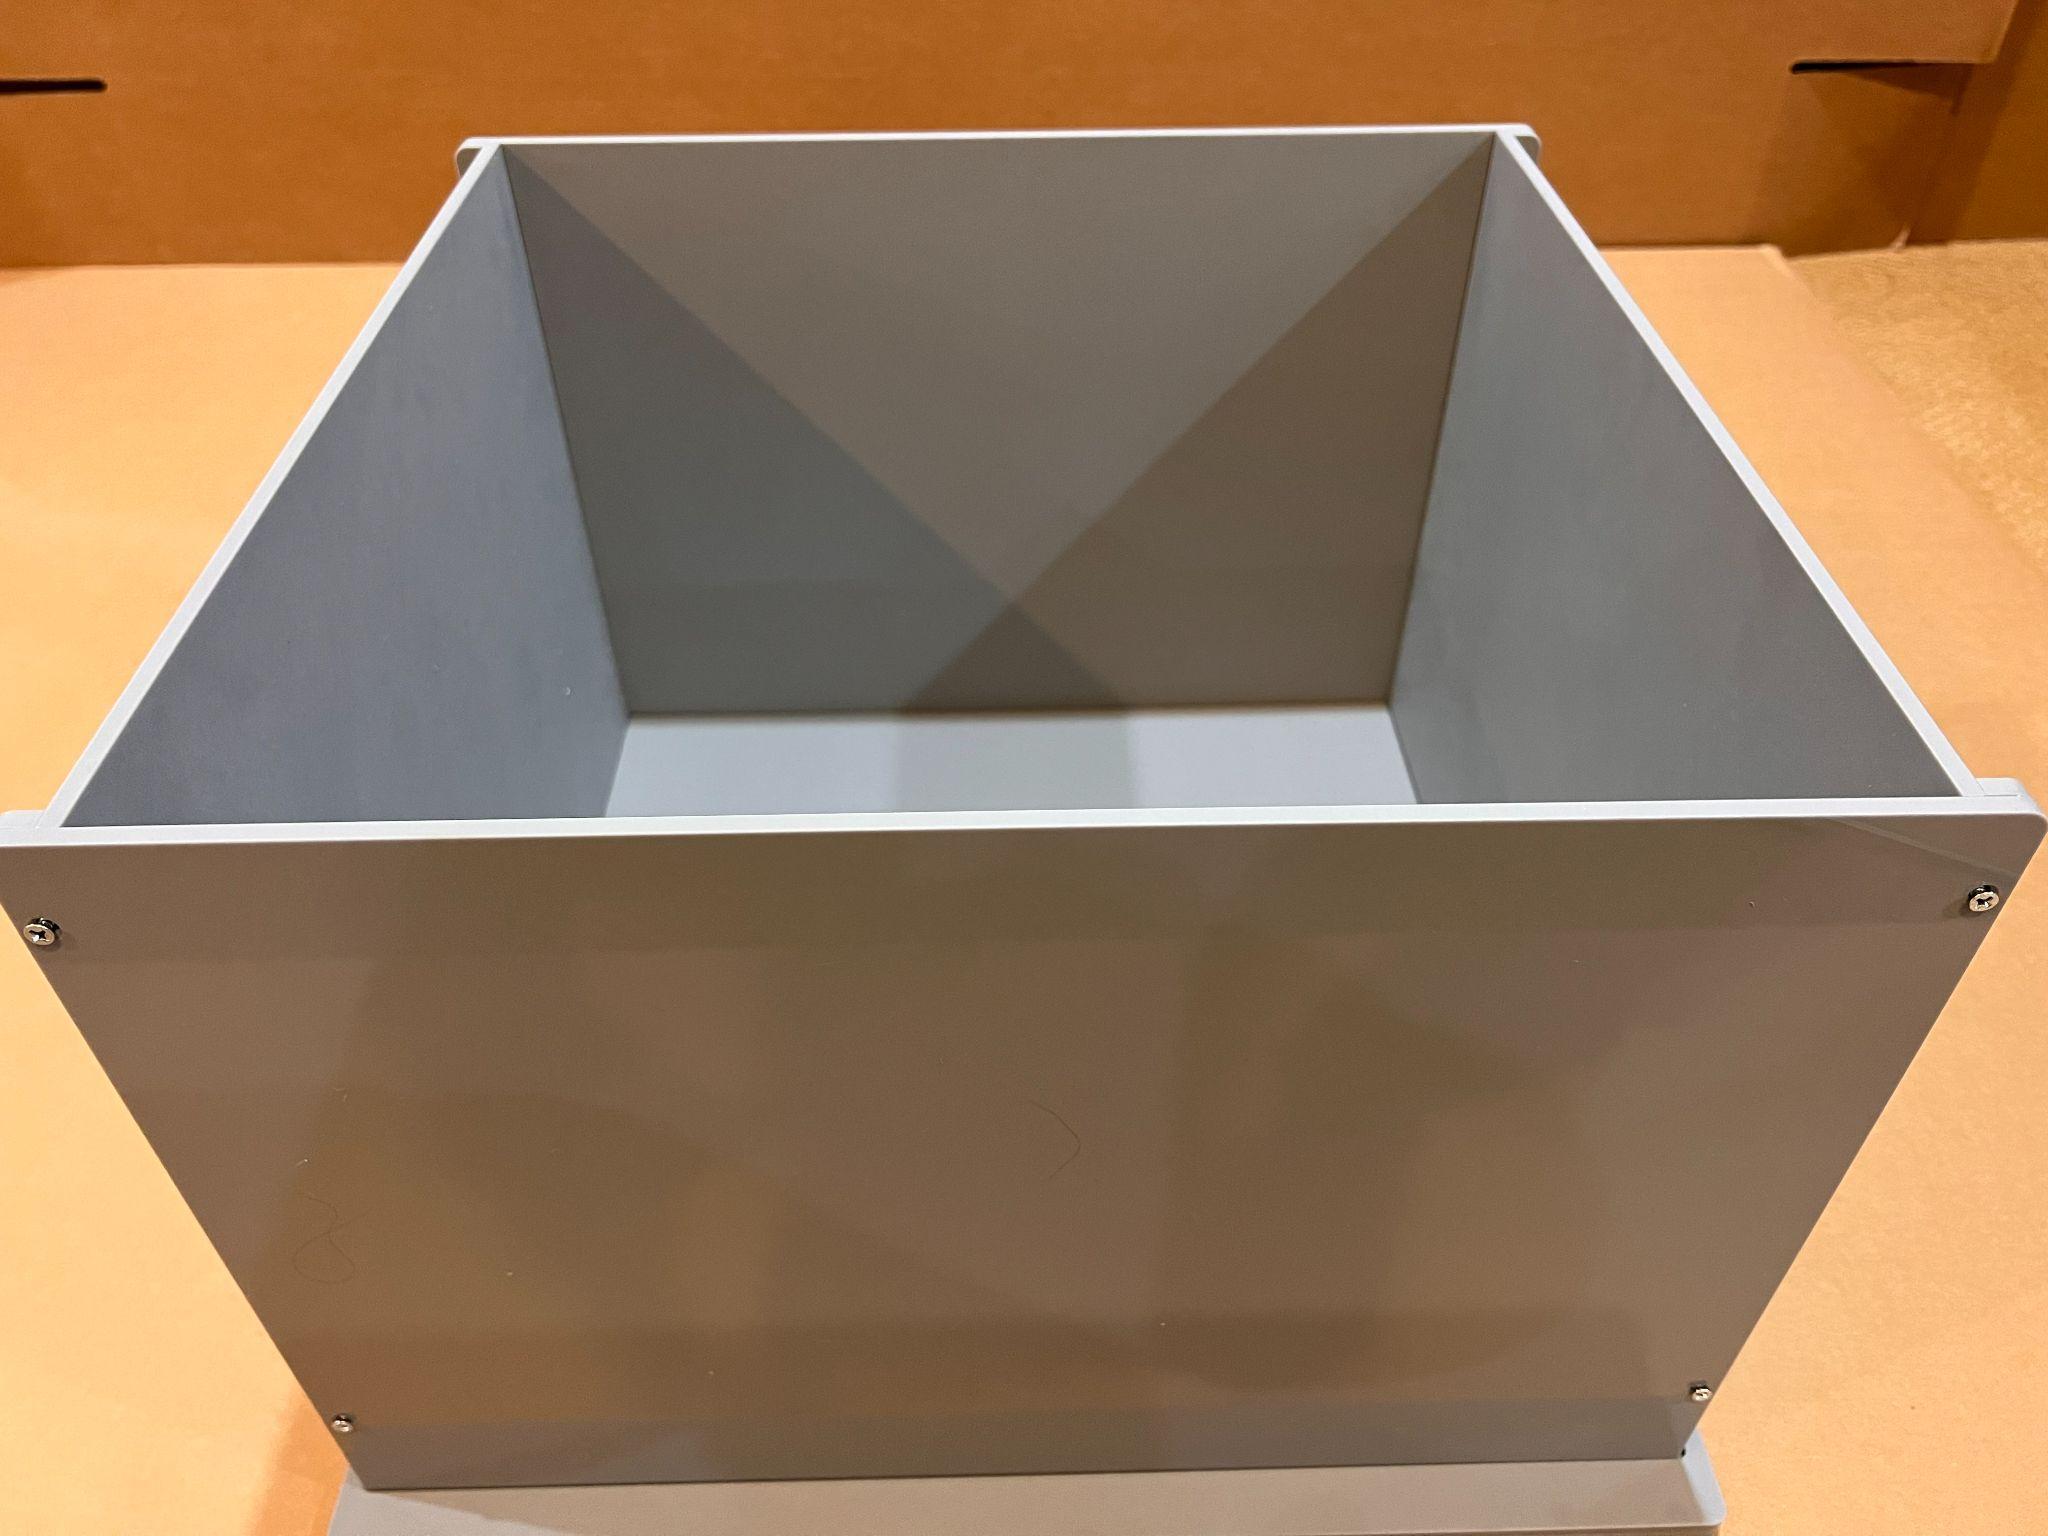
- Place the base piece with the grooves facing upward.
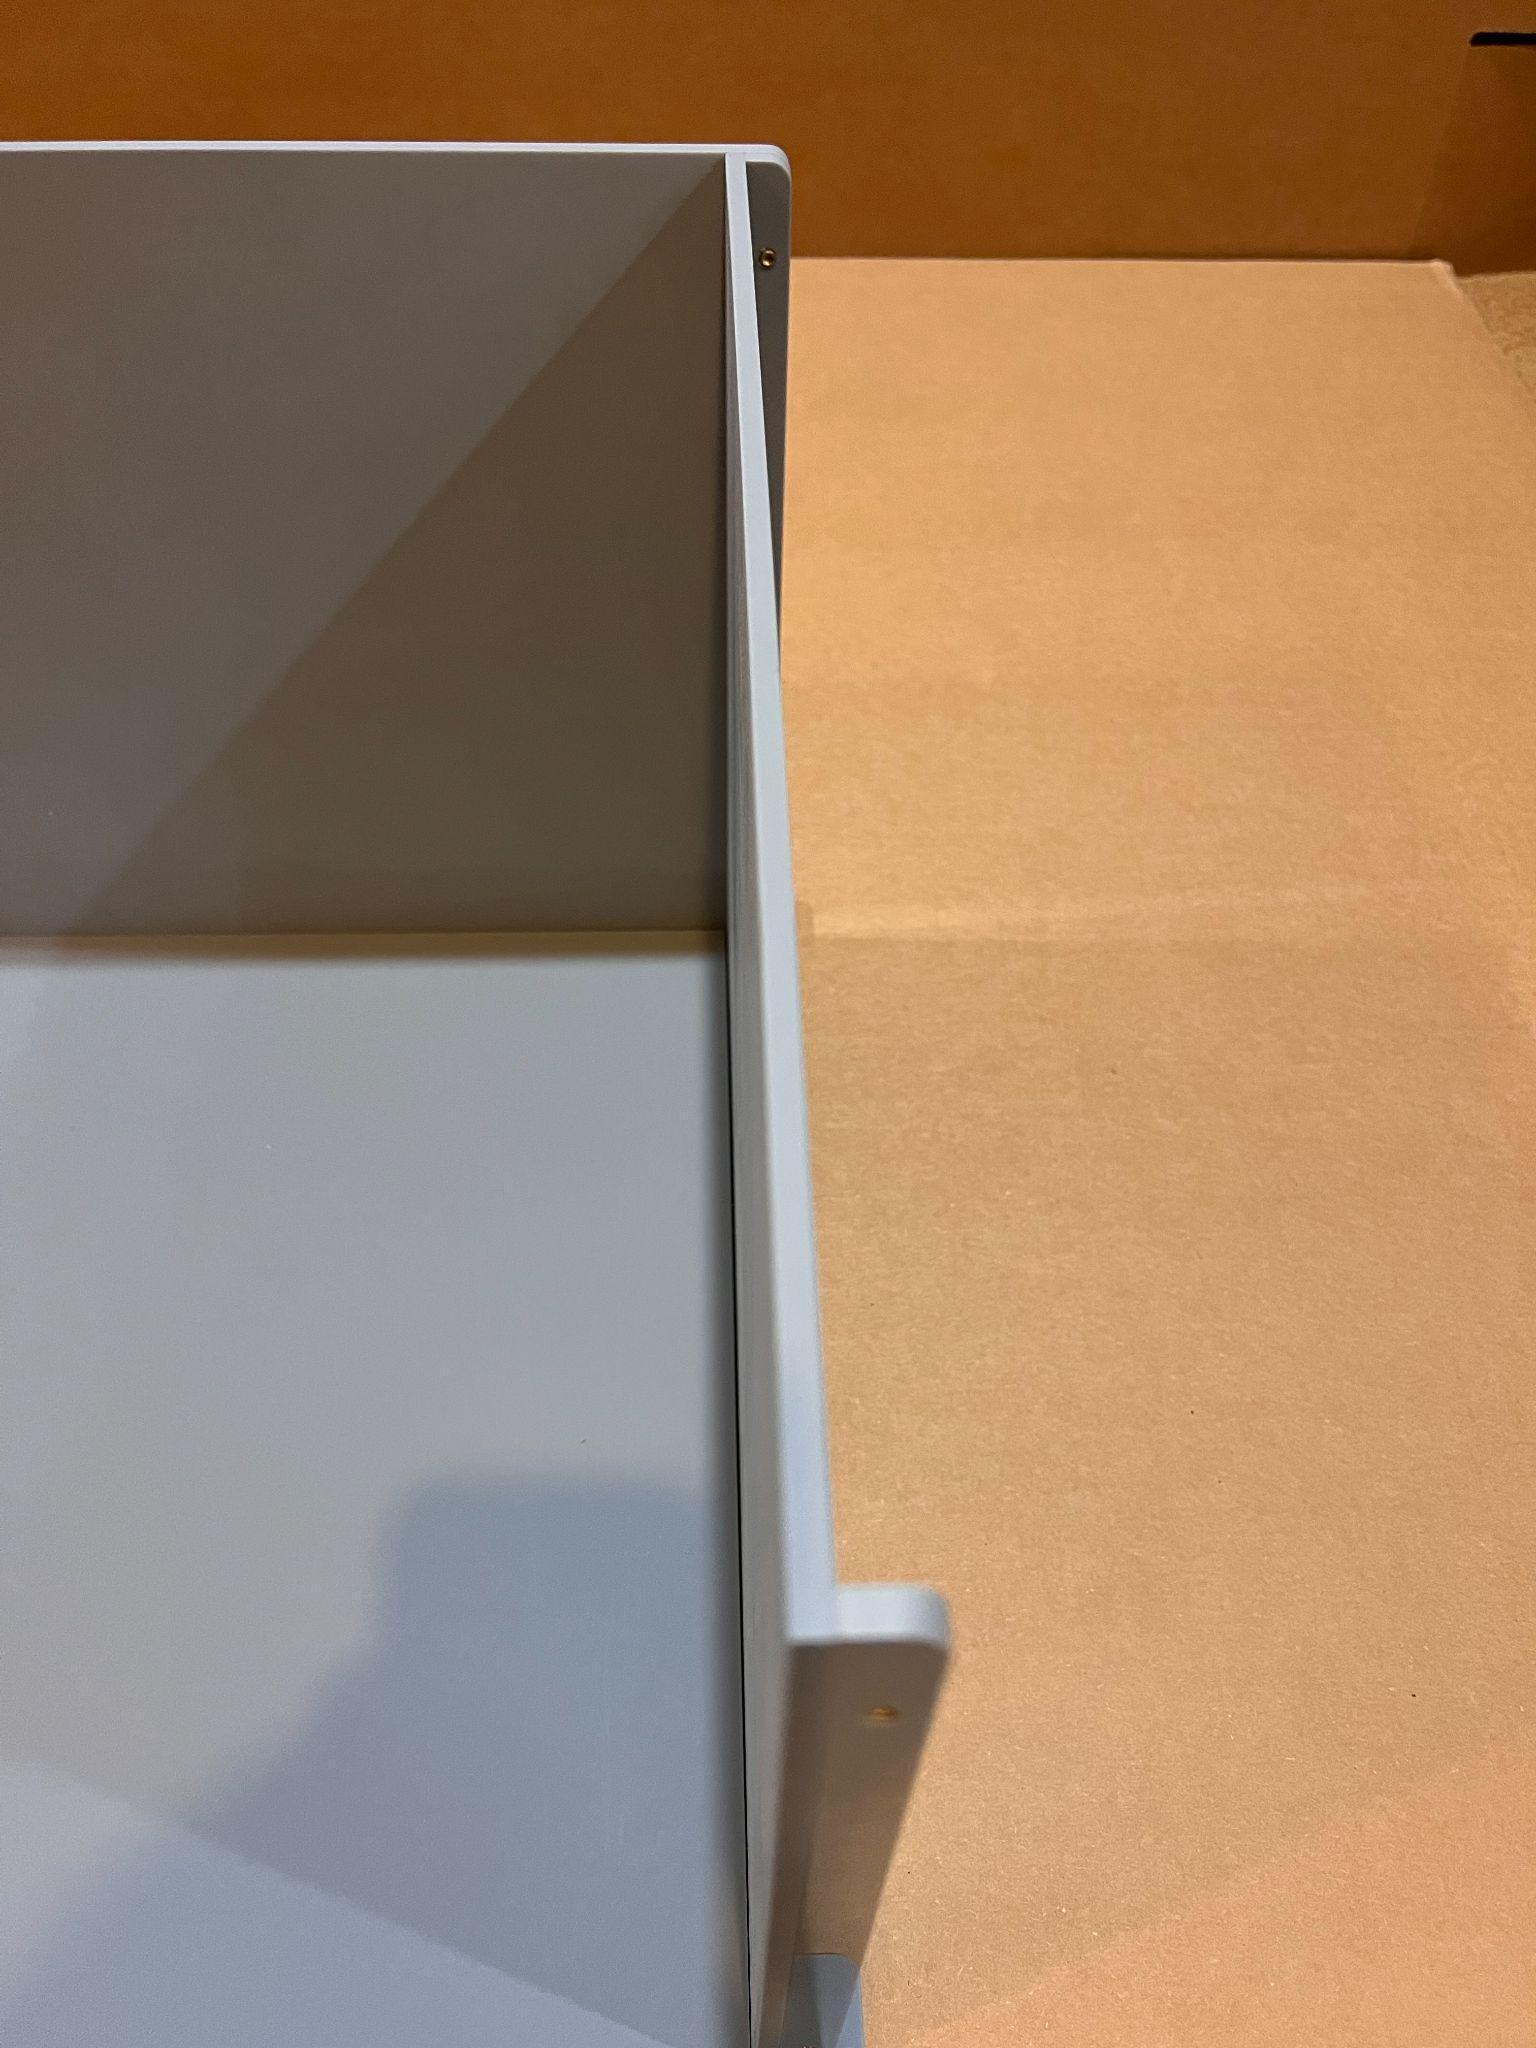
- Insert each wall piece into the grooves.
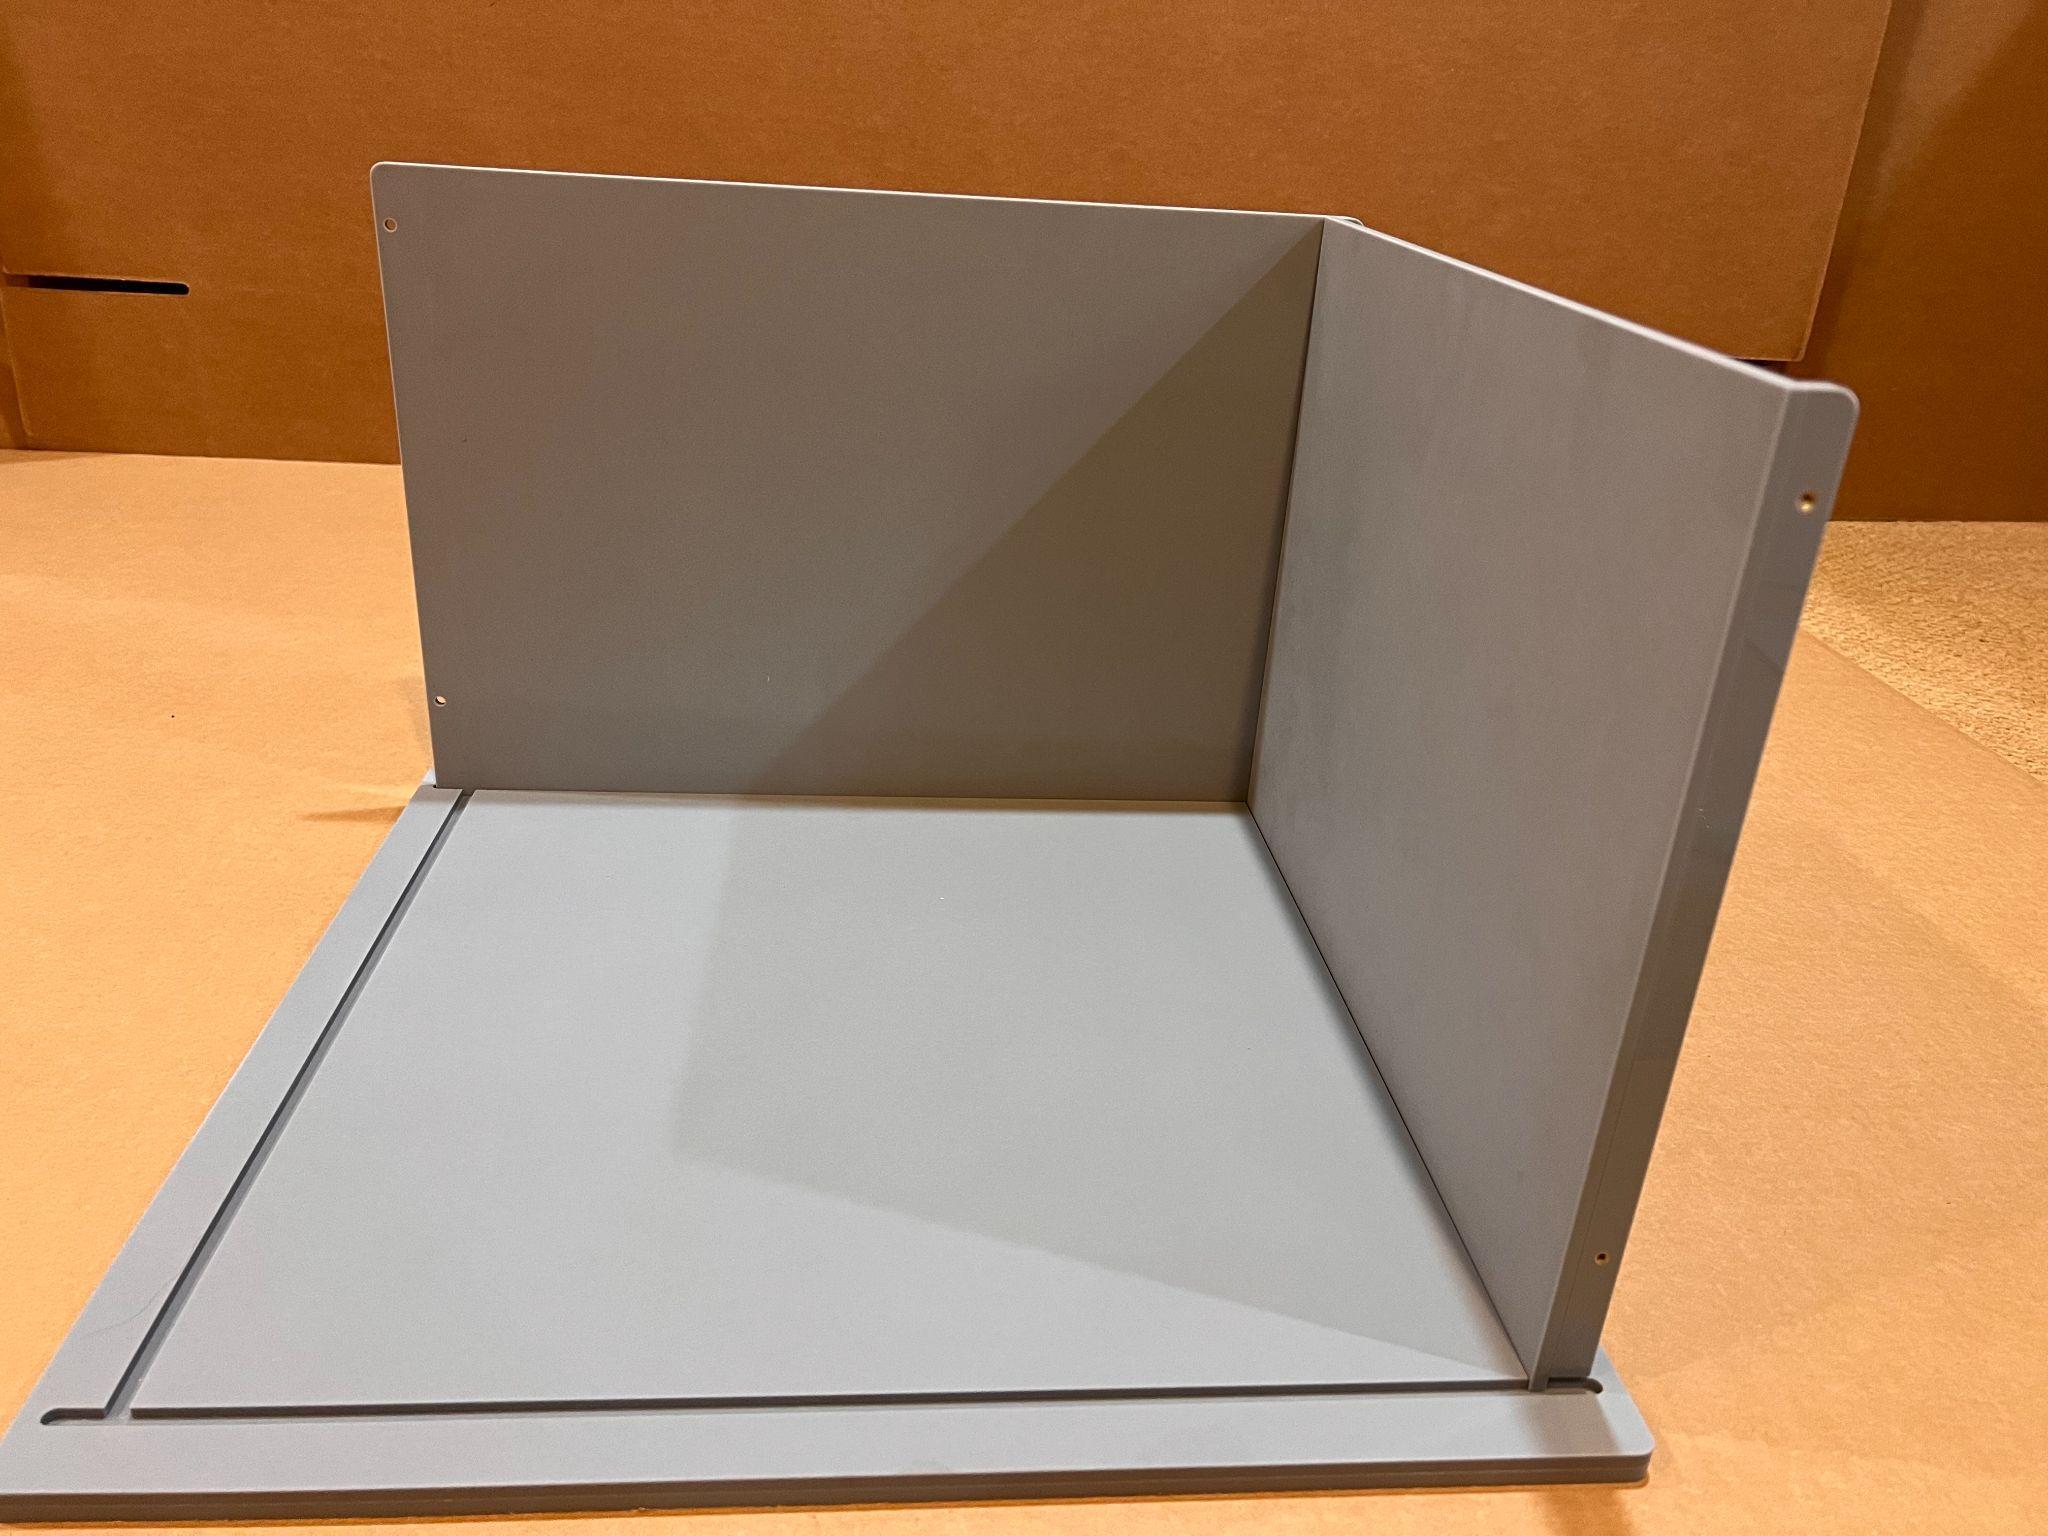
- Screw the wall pieces together with the screw ledges facing outward.
- Tighten all wall pieces together until the box is fully assembled.
Care Instructions
- Clean the Open Field maze with unscented soap and water.
- The Open Field maze can be assembled and disassembled as needed.
- Store the maze assembled or disassembled out of direct sunlight.
- The warranty period is 1 year from the day of delivery. Replaceable parts covered by our warranty policy can be replaced free of charge during this period.
- After the warranty period, parts can be purchased at a discounted price. See our warranty policy: https://conductscience.com/maze/standard-warranty/
- For support, contact [email protected].